Jump to section

Hem
Jan 15, 2025 · 5 min read
Campaigns
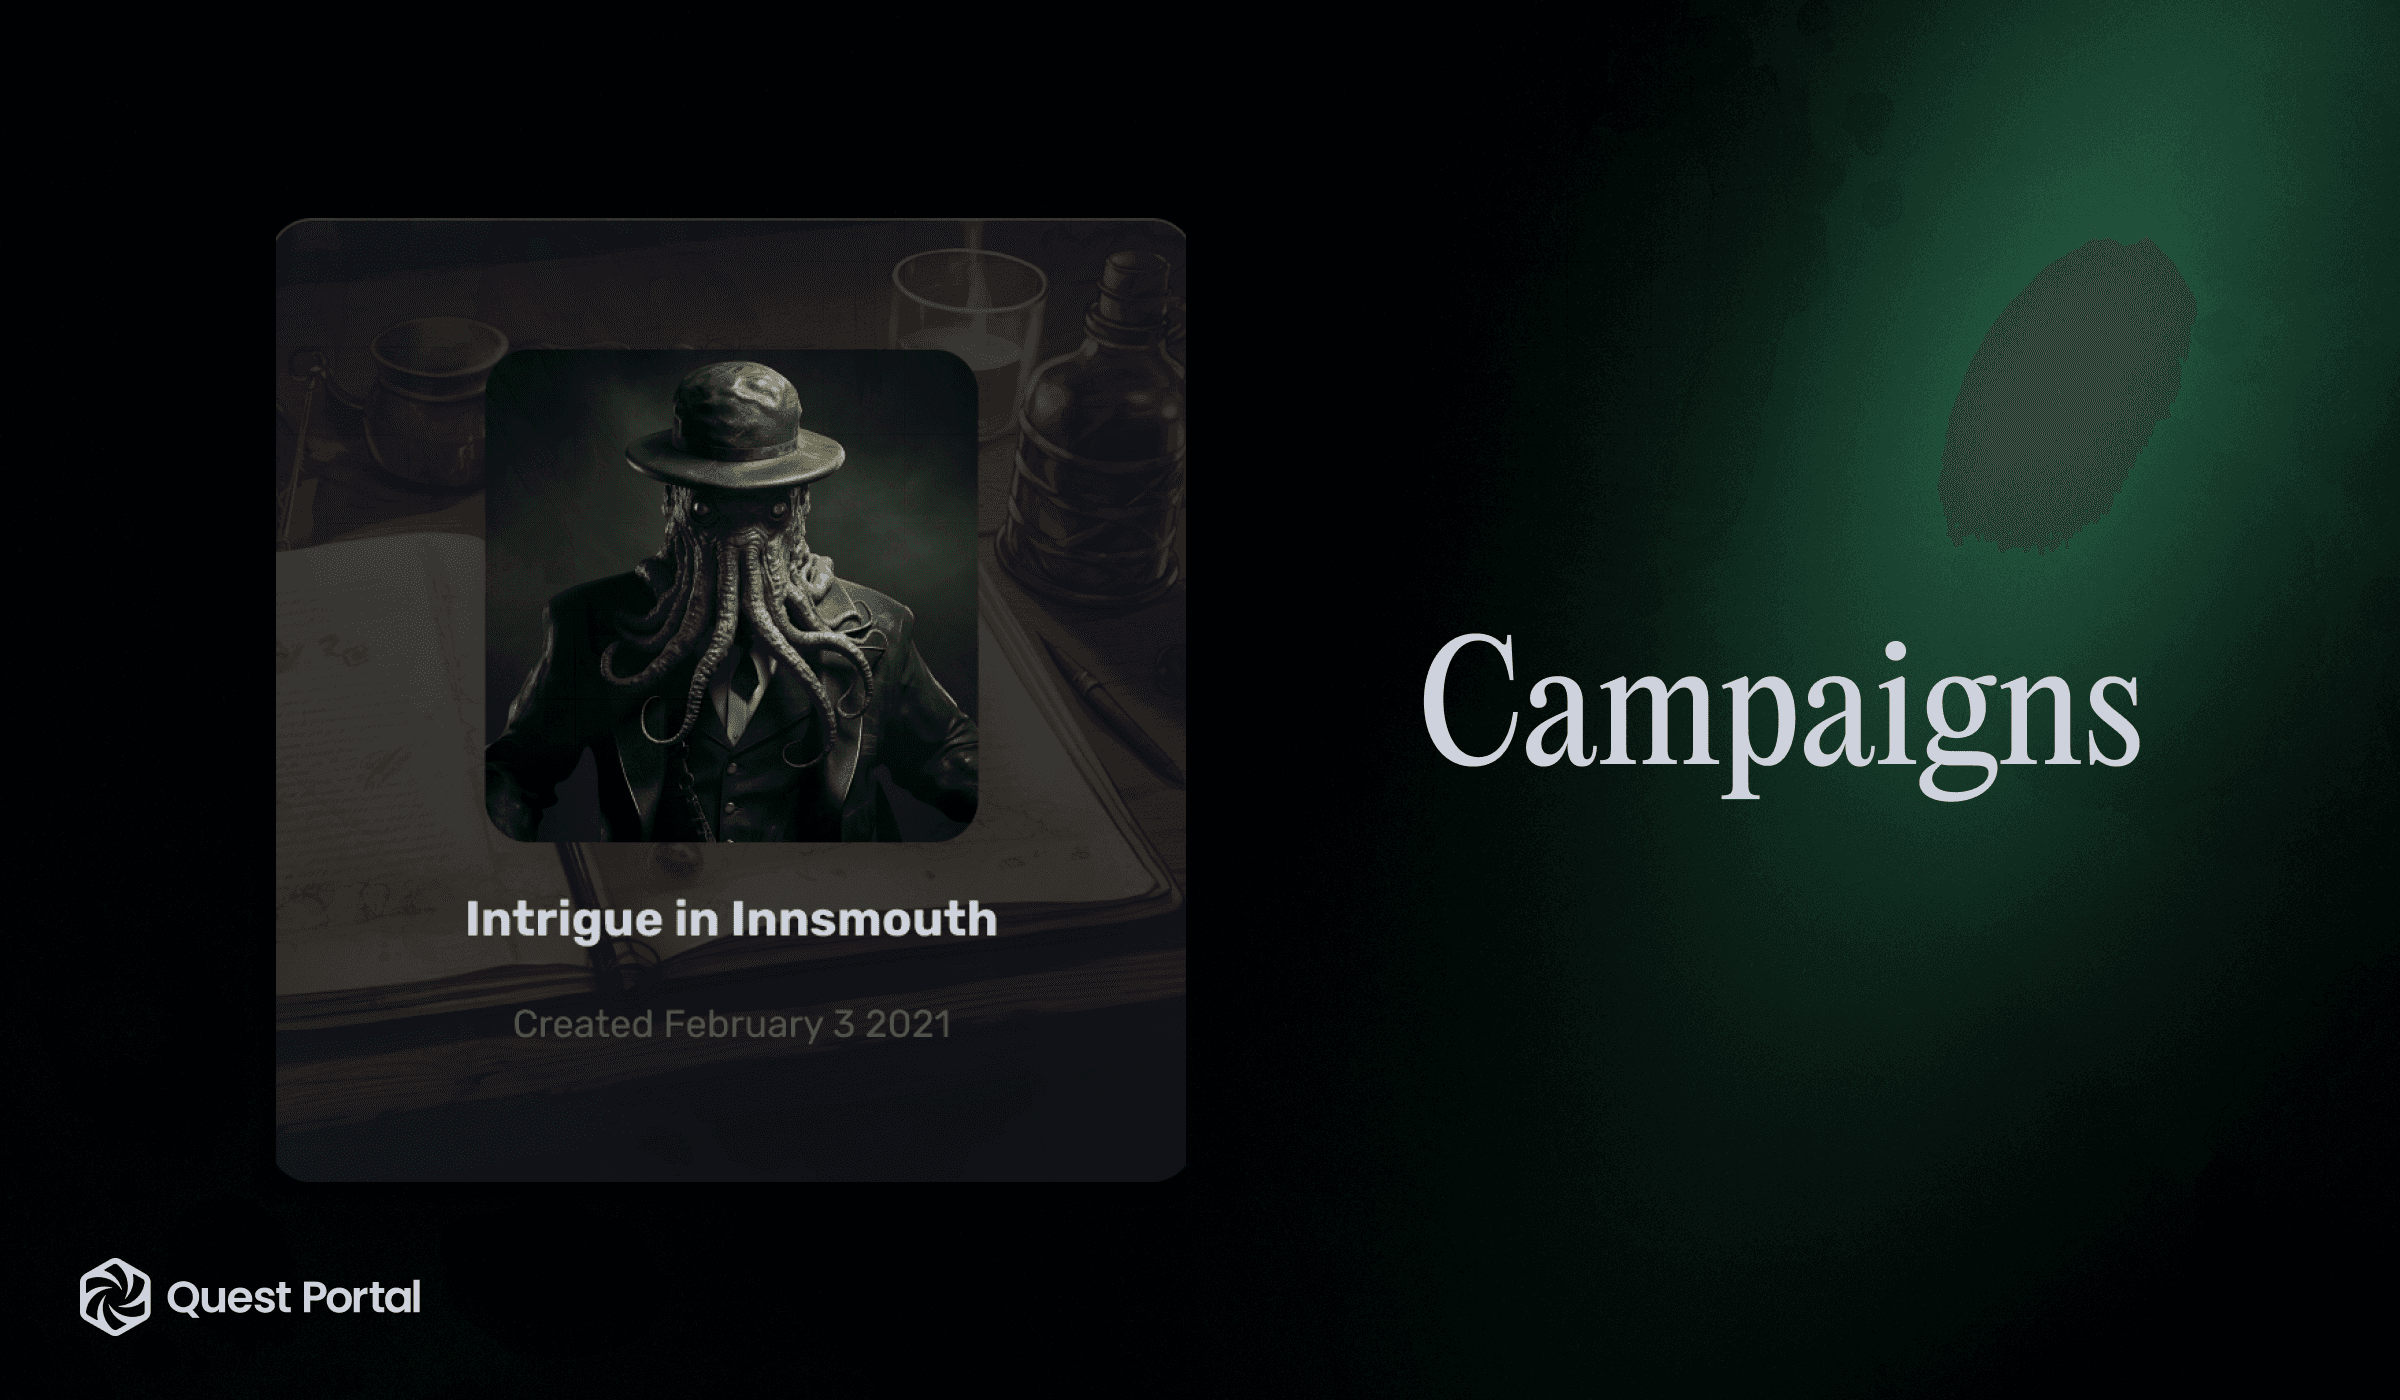
Campaigns in Quest Portal are how you organize your games. One-shots, few-shots, and multi-year games; they're all Campaigns in Quest Portal. When you have created a campaign you can invite your players, organize your game, write notes, add character sheet templates... and more!
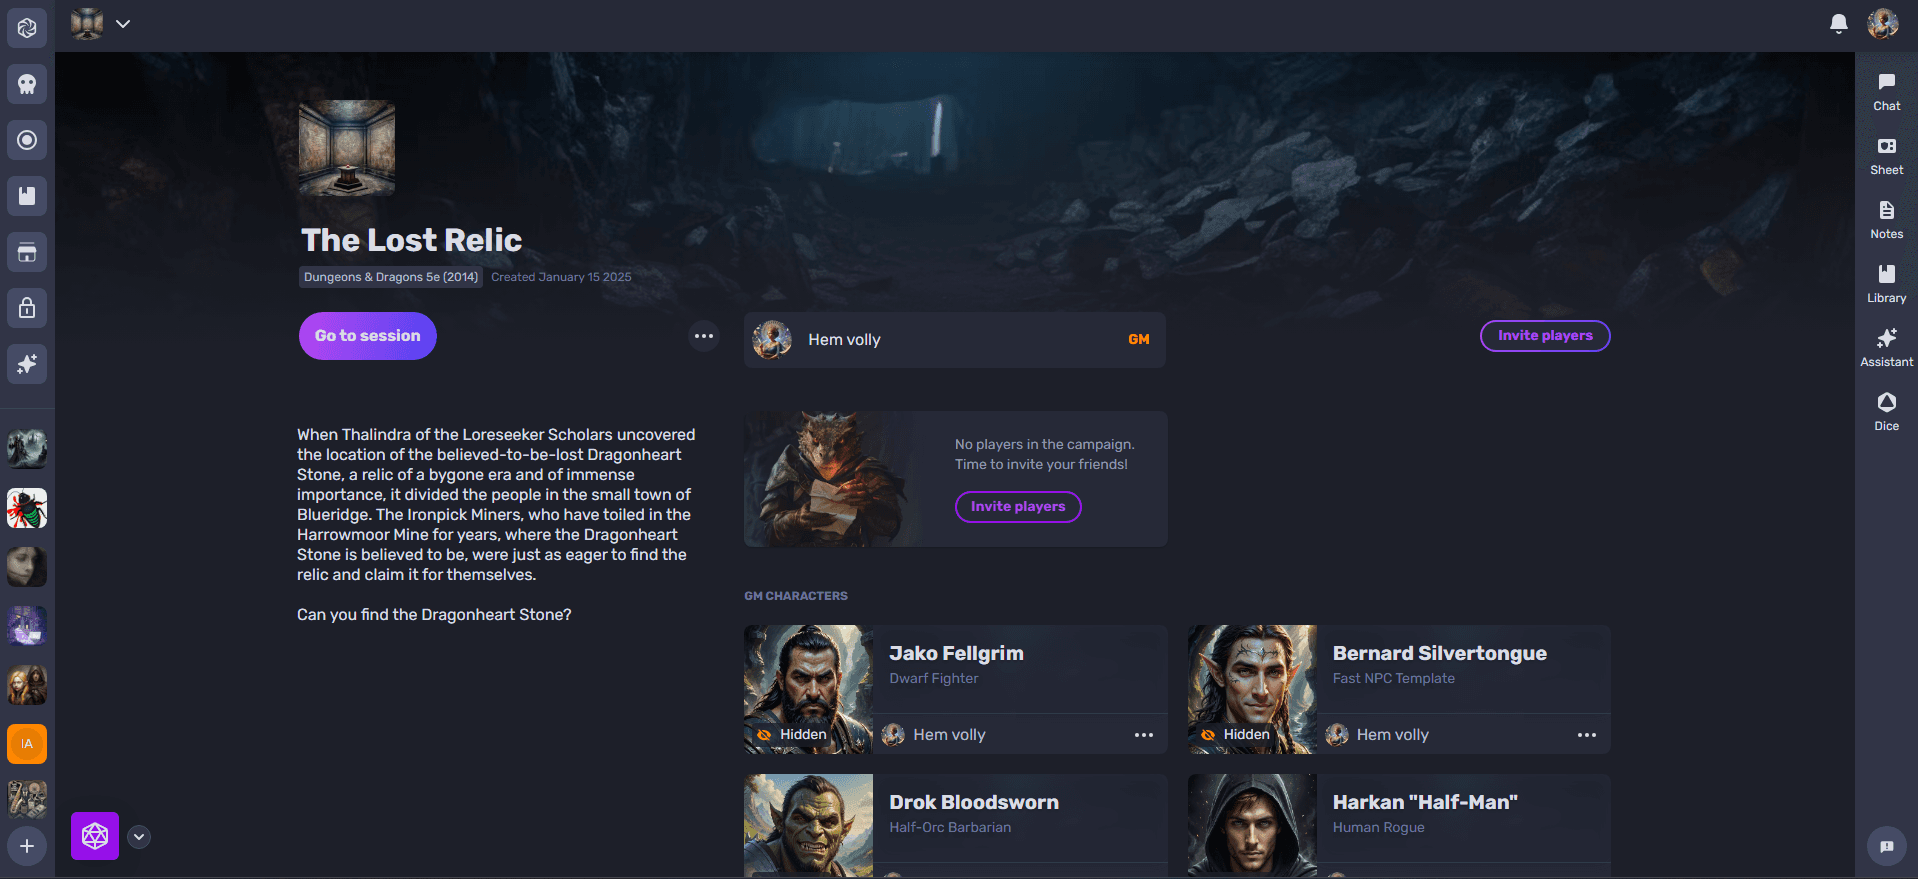
How to create a Campaign
To create a campaign, first navigate to the plus symbol at the bottom left of the app or the Create A Campaign button on the homepage, which will add a new Untitled Campaign to your campaign list.
You will then have access to Campaign Owner options and be assumed to be the GM.
How to claim premade Campaign
Quest Portal has a few premade Campaigns you can use to test the system or to have a night of fun with friends.
Currently, these claimable campaigns are The Lightless Beacon and The Haunting for Call of Cthulhu 7th edition and The Lost Relic for D&D 5e.
From the Home screen, you can select the Claim free scenario option and be shown a dialog to select which campaign to create.
Overview of Campaigns
From the Campaign Lobby, you can start a session, but before you start, consider update-ing the name of the campaign and description, adding a campaign profile picture and cover photo, change settings, invite players, and more. We'll cover each option below.
Editing your Campaign information
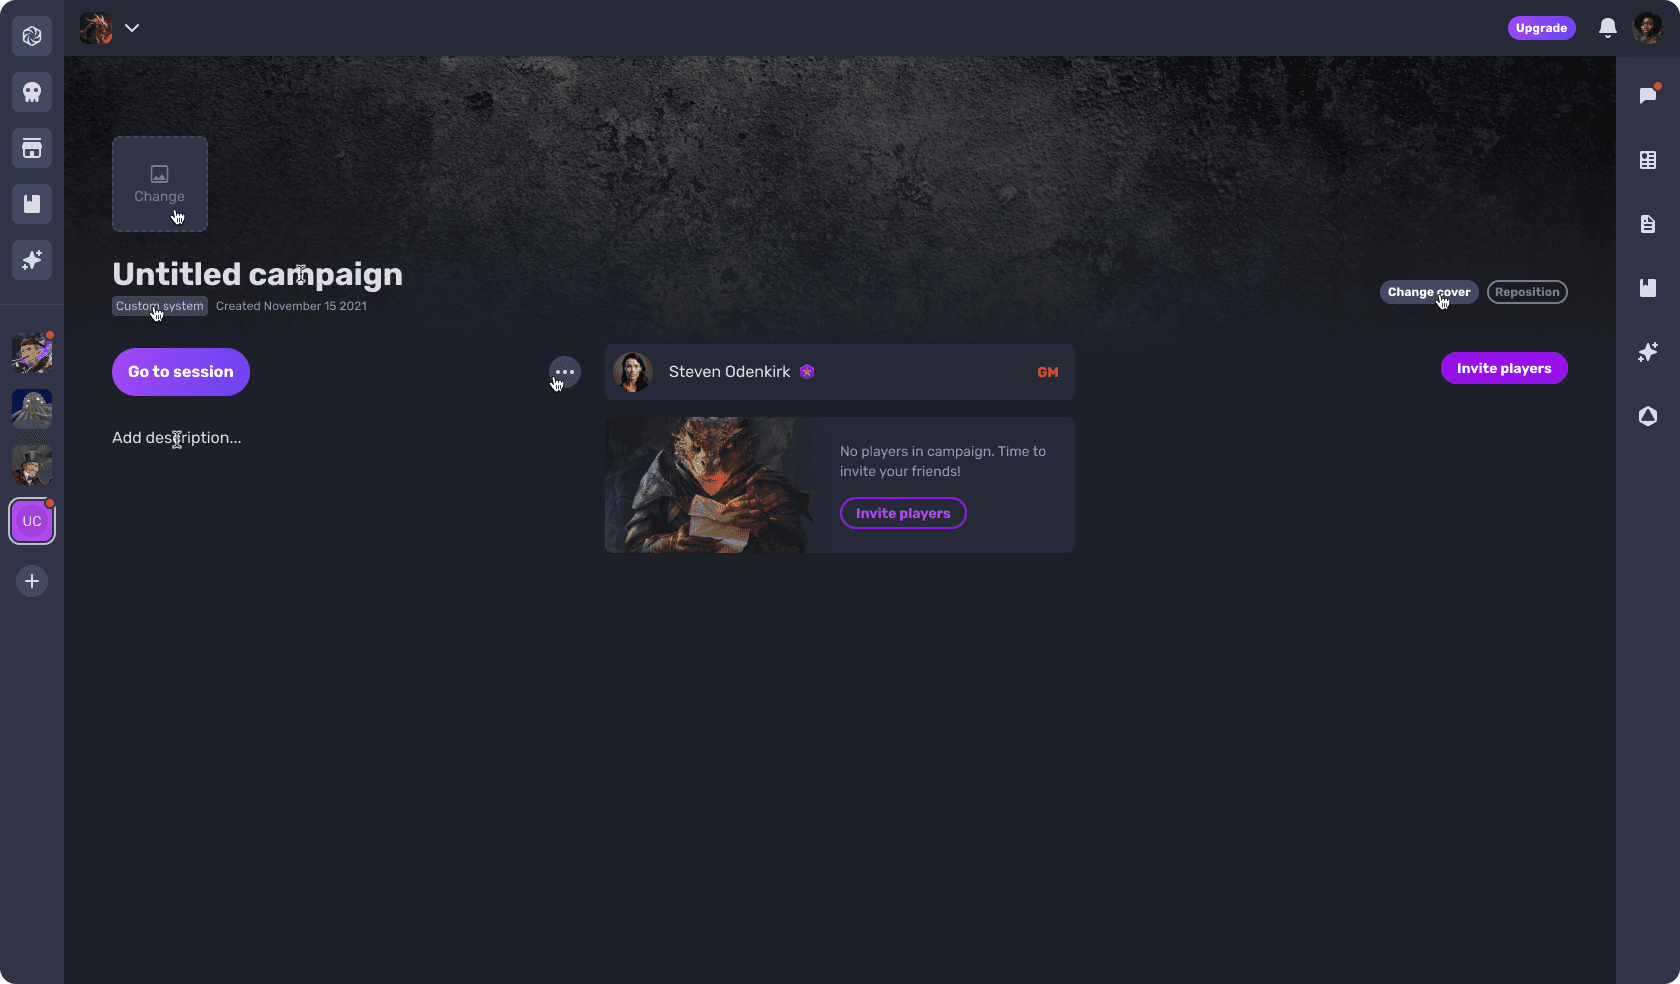
Not all games are made the same, and in the History of Roleplaying Game, yours is just as unique as your group. You can change the name of your campaign by clicking on the name. Likewise, you can change the description by clicking into the description field and start typing.
You can upload a profile photo for your campaign by clicking on the profile photo. The profile photo is the same as in the left sidebar and in more places.
You can add further touches to your campaign screen by uploading a cover photo. You can see the option to change the cover by hovering over the image. There you will also find an option to reposition the cover.
Changing your Campaign settings
To access the Campaign Settings, you can either click the drop down menu under the logo in the top right, clicking "Custom system" button under the campaign name, or the ellipsis towards the centre and selecting Campaign Settings. From there you can take actions such as inviting players, deleting your campaign, and duplicating your campaign.
You will also see an option to open the campaign settings.
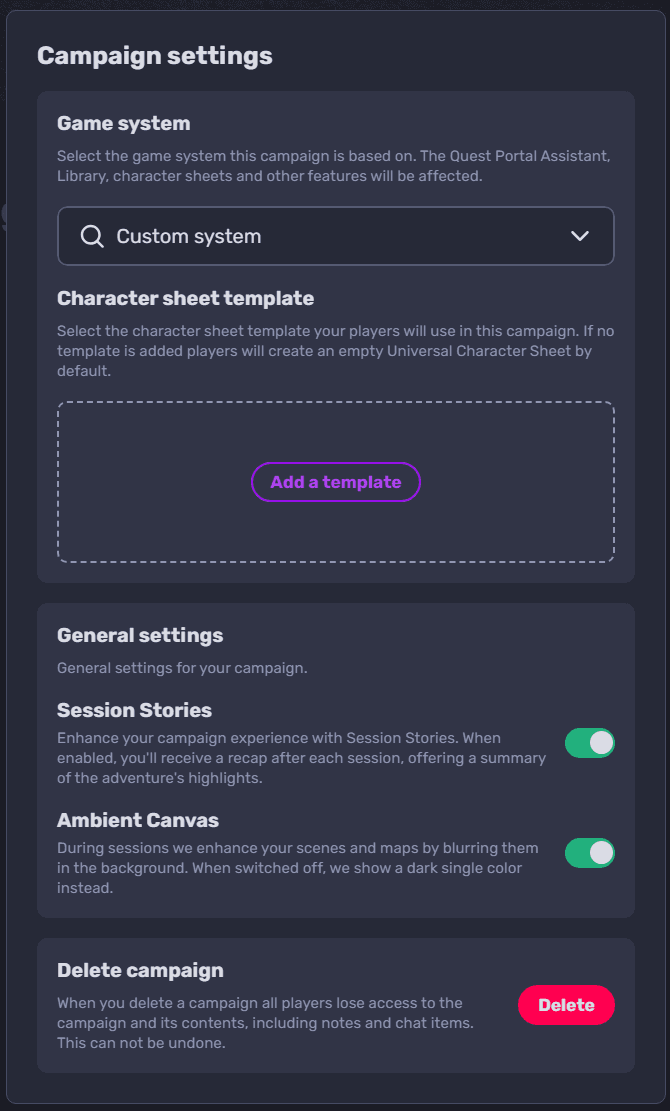
In the campaign settings dialog, you will see an option to change the game system. When you choose a new game system it will impact what game system the Quest Portal Assistant will use behind the scenes.
Additionally, you will also be able to choose the Character Sheet Template that future character sheets will be created with.
Inviting players to your Campaign
As the Gamemaster, from the Campaign Lobby you will see a few buttons to invite players. When you click that button you will see a dialog from where you can invite players by username or by copying an invite link.
If your users are already in Quest Portal then you will see their names in the username search. They will get a notification in the app that they have been invited and can accept or reject the invite.
We recommend sending an invite link, especially when your players aren't already members of Quest Portal. When a new user creates an account via an invite link they are automatically added to your campaign after they sign up. Existing users can use the invite link as well and will be added to your campaign after they click the link.
Duplication and Transferring
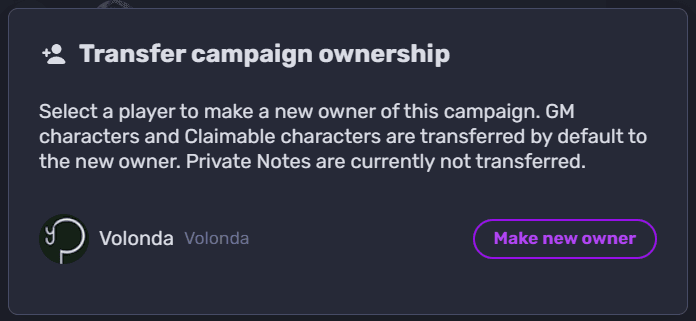
If you find yourself in a circumstance where you want to create a copy of your campaign - you would run the same game for multiple groups or you set up a module you want to share - then you can do this by going into the ellipsis on the session landing page. Click the Duplicate Campaign.
A few moments later a duplicate will appear with all your existing notes, NPCs and scenes. This duplicate is independent of the original, so you can customize for your new group.
Other options in Campaign Lobby
From the Campaign Lobby you can do a few things. We cover these options in other how-tos.
If you want to join or plan a session you can use the Go to session button.
The purple dice icon in the bottom right of the Lobby is the dice roller.
The right sidebar has tools that are available out of session. These are:
- Chat
- Sheet
- Notes
- Library
- Assistant
- Dice